


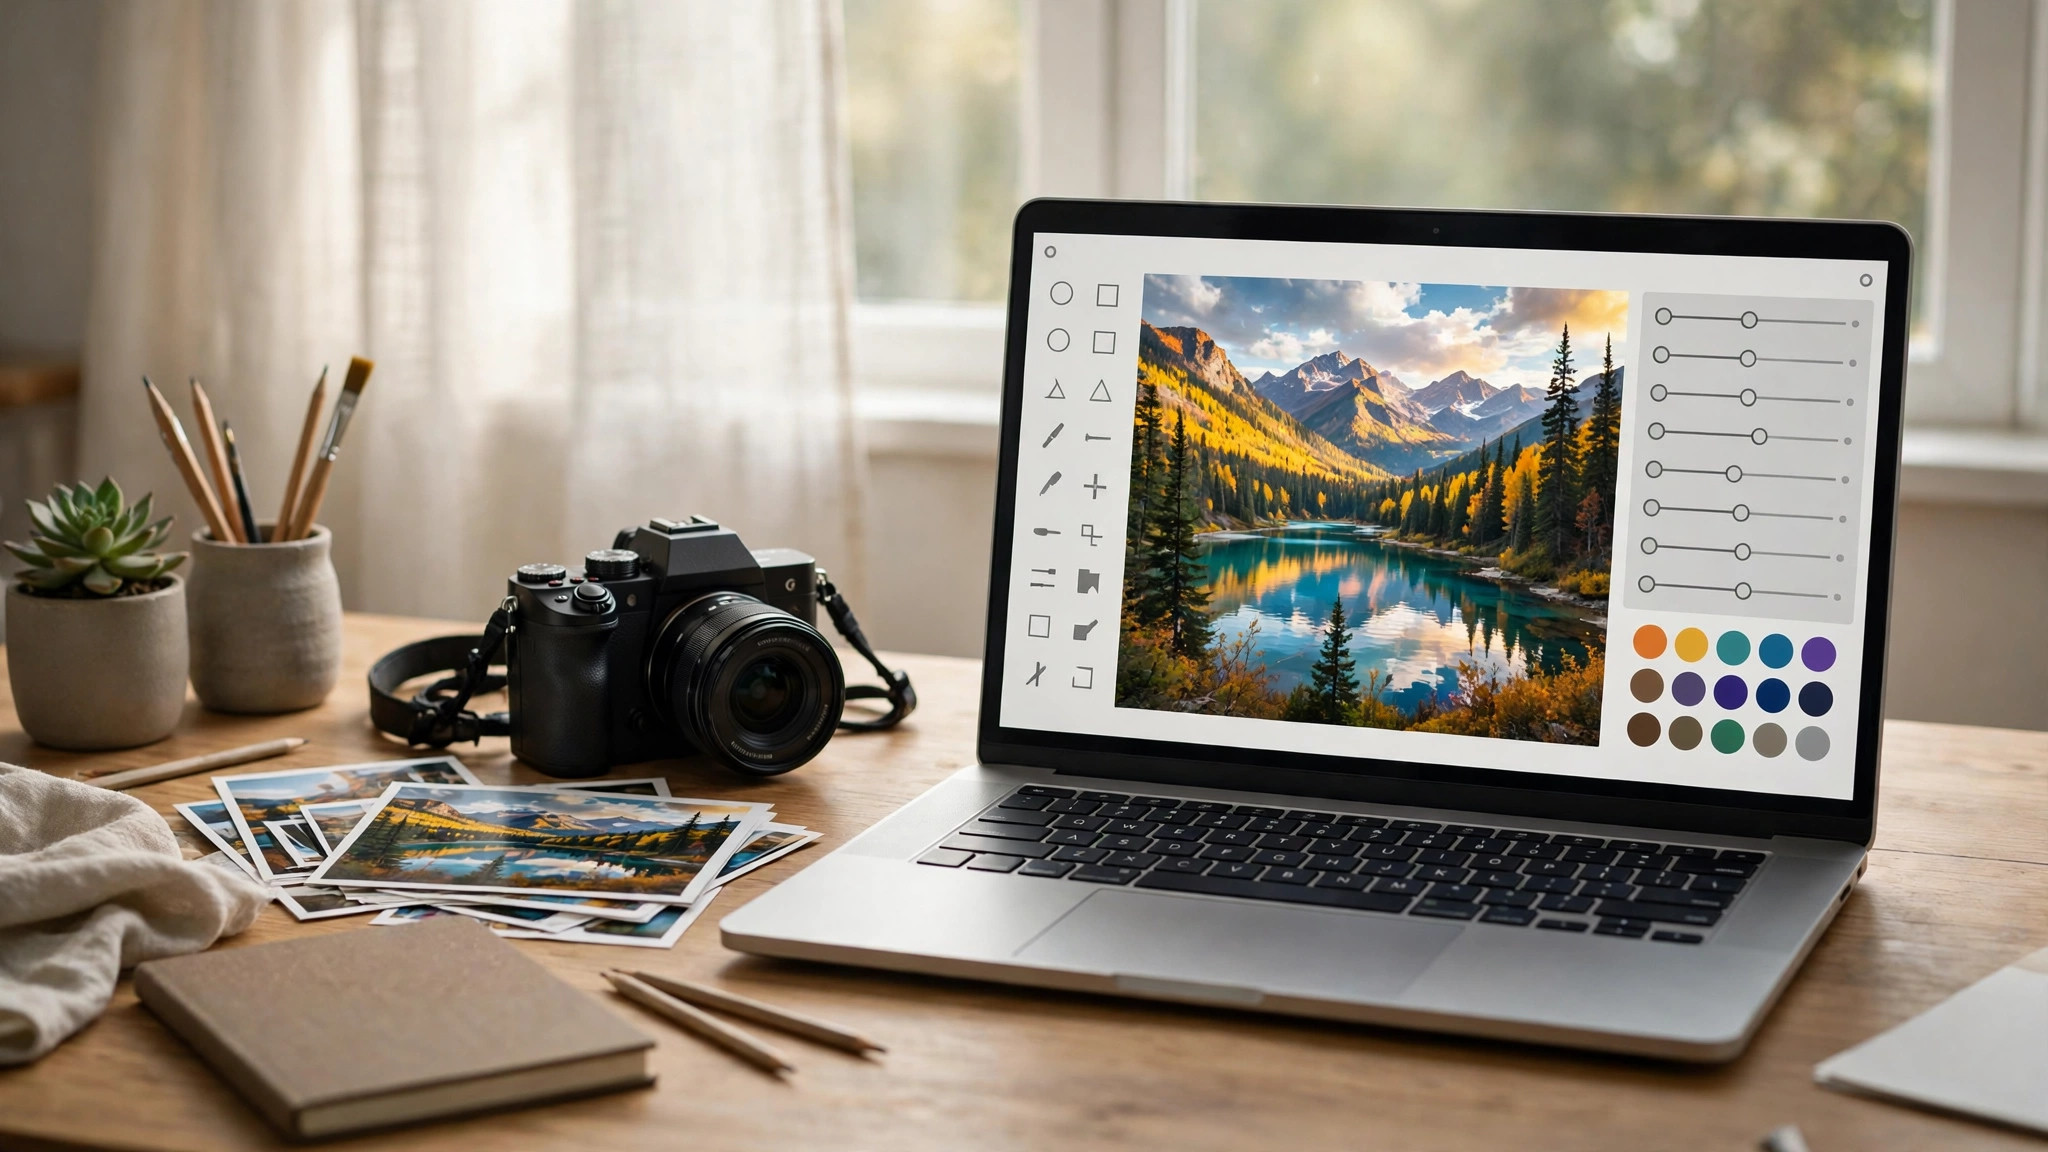
Editing a photo used to mean hours of masking, cloning and layer work in a professional editor. Today you can edit image with AI in a few clicks: describe the change you want, and the software rebuilds the pixels for you. AI editors can remove unwanted objects, replace backgrounds, fix lighting, upscale blurry shots and even restyle an entire picture.
This guide walks you through the complete workflow, from picking a tool to exporting a finished photo. Whether you are cleaning up product shots, fixing family photos or creating social media graphics, the process is the same: upload, describe, refine, export.
edit image with ai
The fastest way to edit image with AI is to use an editor that combines traditional tools with generative features. Most modern AI photo editors work in the browser, so there is nothing to install. You upload a photo, select the area you want to change, and type a short instruction such as “remove the tourist in the background” or “make the sky sunset orange.”
Behind the scenes, the editor analyses your image, understands the objects and lighting in it, and generates new pixels that blend with the rest of the photo. Because the AI has seen millions of images, it can rebuild a wall, a beach or a face in a way that looks natural instead of patched.
If you want a deeper look at how AI rebuilds areas outside the frame, our guide on how to expand an image with AI covers outpainting in detail.
ai edit pictures
When people say they want to ai edit pictures, they usually mean one of five everyday jobs:
- Object removal – erase people, wires, rubbish or text from a photo
- Background changes – cut out the subject and place it on a new scene
- Enhancement – sharpen, denoise and fix colours in one click
- Restoration – repair old, scratched or faded photographs
- Restyling – turn a photo into a painting, sketch or cartoon look
Almost every AI editor groups these jobs into simple buttons or a single prompt box. The quality difference between tools shows up in the edges: hair, glass and transparent objects are the hardest for AI to cut out cleanly, so test any editor with a tricky photo before you commit to it.
edit ai image
Here is the step-by-step workflow to edit ai image content like a pro:
- Choose and upload your photo. Start with the highest-resolution version you have. AI edits always look better when the source is sharp.
- Pick the edit type. Use object removal for distractions, background tools for cut-outs, and enhancement for overall quality.
- Select the area. Brush over the part you want to change. A slightly generous selection gives the AI room to blend the new pixels.
- Write a clear prompt. “Remove the red car” works better than “fix this.” For generative fills, describe what should be there instead: “empty sandy beach with footprints.”
- Generate variations. Most editors produce two to four options. Pick the one with the cleanest edges and most natural light.
- Refine and blend. Zoom in, check shadows and reflections, and use a smaller brush for touch-ups.
- Export in the right format. Use PNG for graphics with transparency and high-quality JPG for photographs.
Our roundup of smart AI editing tips shows how professionals chain these steps together for faster results.
ai edit an image
Can you ai edit an image that was itself created by an AI generator? Absolutely, and it is one of the most common workflows in 2026. AI-generated pictures often arrive with small flaws: an extra finger, garbled text or a strange object in the corner. Instead of regenerating the whole image and losing the parts you liked, you can repair just the broken area.
Upload the generated image to an AI editor, mask the flawed region, and prompt for the correction, for example “a natural human hand holding a coffee cup.” The editor keeps the rest of the picture untouched. The same approach works for changing a generated character’s outfit, swapping a product colour, or extending a square AI image into a wide banner.
Choosing the Right AI Photo Editor
The best tool depends on the job. Browser-based editors such as Canva are ideal for beginners because the AI features sit inside a familiar design workspace. Dedicated AI editors focus on one-click enhancement and batch processing, which suits e-commerce sellers with hundreds of product photos.
Before you pay for anything, check these points:
- Does the free plan let you export without a watermark?
- What is the maximum output resolution?
- Are AI generations limited by credits, and how fast do they refill?
- Can you use edited images commercially?
- Does it keep your original file untouched so you can start over?
The Freepik AI guide on this site is a good example of a platform that bundles generation and editing in one subscription.
Tips for Natural-Looking AI Edits
AI edits fail in predictable ways, and most are easy to avoid. Always match the light: if your photo was taken at noon, a sunset replacement sky will look fake unless you also warm up the subject. Keep an eye on shadows after removing an object, because the AI sometimes forgets the shadow the object cast.
Work at 100% zoom before exporting, especially around hair, hands and text. If an edit looks slightly artificial, a light grain or noise pass over the whole image unifies the old and new pixels. Finally, save your edits in stages. If step three goes wrong, you can return to step two instead of starting again.
Common AI Editing Jobs, Explained
Some edits deserve a closer look, because the technique changes with the job. Removing objects works best on backgrounds with a pattern the AI can continue, like grass, sky or brick. When the missing area is large, remove the object in two or three smaller passes instead of one big selection; each pass has less to invent, so the result stays cleaner.
Replacing a background is really two edits in one: a cut-out and a composite. Judge the cut-out first, especially around hair, fur and bicycle spokes. Then judge the composite: the new background must match the original photo’s perspective and light direction, or the subject will look pasted on. Many editors now relight the subject automatically to match the new scene, which fixes most of the problem in one click.
Restoring old photos is where AI feels almost magical. The software detects scratches, folds and faded areas, rebuilds missing detail and can even add plausible colour to black-and-white prints. Keep expectations realistic: AI restoration creates a convincing interpretation of the past, not a recovery of lost information. Faces of ancestors may come back slightly idealised, so treat restored portraits as artwork rather than documents.
Enhancing portraits needs restraint. One-click skin smoothing and teeth whitening easily slide into plastic-looking results. Work at low strength, compare against the original often, and leave some natural texture in place. The best portrait edits are the ones nobody notices.
Editing on Mobile vs Desktop
Almost every major AI editor now runs in a browser or a phone app, and for most edits the phone version is genuinely enough. Apps shine for quick fixes: straightening, one-tap enhancement, background swaps for social posts. The small screen only becomes a problem for precision work, where a fingertip covers the exact pixels you are trying to inspect.
Desktop editors still win for batch work and fine control. Keyboard shortcuts, larger brushes and side-by-side comparisons make long sessions faster, and some advanced features, such as layered generative fills, arrive on desktop first. A practical setup many creators use is to capture and do rough edits on the phone, then finish important photos on a computer where mistakes are easier to catch.
Whichever device you choose, turn on the option to keep an untouched original. AI editing is non-destructive in most modern tools, but an exported copy of the untouched file is the only guarantee you can always go back.
Mistakes Beginners Make With AI Editors
Three mistakes account for most disappointing results. The first is over-editing: stacking enhancement, restyling and generative fills until the photo no longer resembles the original scene. If you cannot remember what the photo looked like, you have probably gone too far. Small, purposeful edits beat dramatic transformations for almost every real-world use.
The second is ignoring resolution. An AI edit can only be as sharp as the information available. Enlarging a tiny, compressed image produces a smooth but artificial result, because the AI is inventing detail rather than recovering it. Whenever possible, edit the original file from the camera rather than a copy downloaded from a social platform, which has already been compressed several times.
The third is trusting the first result. Generative edits are partly random: the same prompt on the same photo can produce a clean rebuild or a strange artefact. Generating several variations and comparing them takes seconds and dramatically raises the average quality of your finished images. Treat the first output as a draft, not a verdict.
When a Human Editor Is Still the Better Choice
AI editing is fast, but it is not always right. Wedding and event photographers still retouch by hand when every image must match a consistent grade across hundreds of shots. Product photographers shooting reflective jewellery or glass often find manual masking more reliable than AI cut-outs. And for legal, medical or journalistic images, AI alteration may be restricted or outright inappropriate, because the photograph is evidence, not artwork. Use AI where speed matters and the image is illustrative; keep humans in charge where the image must be beyond question.
Frequently Asked Questions
Is it free to edit image with AI?
Yes, most AI editors offer a free tier with a limited number of edits or credits each month. Heavy use, higher resolutions and commercial licences usually require a paid plan.
Do AI photo editors work on phone photos?
They do. Modern AI editors are very good at fixing the most common phone photo problems: noise in low light, motion blur, dull colours and cluttered backgrounds.
Will an AI edit reduce my photo quality?
Enhancement tools usually improve perceived quality. However, repeated generative edits on the same area can soften detail, so keep your original file and edit a copy.
Can AI remove a person from a photo completely?
In most cases, yes. The AI rebuilds whatever was behind the person. Busy or patterned backgrounds are harder, and results may need a second pass with a smaller brush.
Conclusion
Learning to edit image with AI takes an afternoon, not a semester. Start with one photo, practise the core workflow of upload, select, prompt, refine and export, and you will quickly see which jobs AI handles brilliantly and where a careful human eye still matters. Once the basics feel easy, the same skills transfer to product photography, marketing graphics and creative projects of every kind.
